Sunday, 2 June 2013

Croutons

Croutons, basically very toasted bread! and very yummy! Eat them with soup or salads to get a few carbs in without having a whole piece of bread.

Serves:  depends on how much bread you use!
Cooking time: 5-7 minutes
Cooking temp: 200 degrees C
Keeps for: in an air tight container 4 to 5 days, and can be frozen for up to 3 months.

Ingredients:
  • Bread 
  • Oil/oil spray
What you need:
  • Chopping board 
  • Knife
  • Baking tray
How you make it:
  1. Turn oven on up to 200 degrees C.
  2. Cut up your bread into small squares. (If you have followed the link from the breaded chicken then just cut up the left over crusts!)
  3. Spray/cover a baking tray in oil.
  4. Place bread squares on the tray.
  5. Cover/spray in oil.
  6. Put in oven.
  7. ENJOY!

    Uni Yums ♥

Omelet

Omelets are really easy to make, very filling and can be eaten at breakfast, lunch or tea!
Here I made a bacon, mushroom and asparagus (you may be thinking, that's expensive! yes, but if you can get it on offer or multibuy then its reasonable price) omelet, but you can put loads of different things in; peppers, cheese, broccoli, chicken, tofu...all sort, and they can easily be made suitable for veggies! :)


Serves: 1
Cooking time: 5-10 minutes
Cooking temp: high to medium
Keeps for:  if you have left overs it will keep in the fridge for 3 days
Average cost: £1.48 for needed eggs, bacon, mushrooms and asparagus.

Ingredients: 
  • 2 eggs 
  • 1/2 pieces of bacon
  • 6 small mushrooms
  • 4 pieces of asparagus
  • Water

What you need:
  • Frying pan
  • Bowl or jug
  • Chopping board
  • Cutting knife
  • Cooking spachelor
  • Pan
  • Fork

How to do it:
  1. Crack the eggs into a small bowl or jug, a whisk together with a fork until its all one colour. Add about a table spoon of water and stir in.
  2. Boil the kettle or heat up water until simmering in the small pan on the hob. Cut up asparagus into about 2cm pieces and place in pan on the hob. Leave to cook for about 5-10 minutes.
  3. Meanwhile put frying pan on the hob on medium to high heat. Add a small amount of oil to the frying pan. place the bacon in the frying pan and leave to cook. (will need turning over)
  4. Start chopping up the mushrooms and put into the frying pan with the bacon to cook.
  5. Once the bacon and mushrooms are cooked take the frying pan off the heat. 
  6. Take the bacon out of the pan and cut up into small piece. And put back into the frying pan with the mushrooms.
  7. Take the asparagus off the heat, and drain the water out of the pan. Put the asparagus into the frying pan with the bacon and mushrooms.
  8. Place the frying pan back on the hob with high/medium heat.
  9. Pour the egg mixture into the frying pan.
  10. Once the mixture in the pan starts to cook the bottom will be firmer than the rest. With the spachelor pull away part of the side of the omelet to allow more of the wet mixture to cook on the pan.
    see the lighter yellow bit, that's cooked and is what you need to pull away from the pan to allow the darker yellow wet stuff to cook.
    if you will the pan this will allow the wet mixture to flow onto the bar pan area and cook
  11. Do this round all of the edge of the omelet. And again once that has cooked until there is no wet mixture left in the pan.
    COOKED!
    Enjoy! 


    Uni Yums ♥
    Average cost estimated from www.asda.com other super markets may be cheaper so shop around!

Crumble


Crumble! A easy yummy pudding!
This recipe is a different take on the traditional crumble topping.
In this recipe I'm just going to tell you how to make the crumble topping, which I have put on top of the stewed rhubarb from one of my other posts. http://uni-yums.blogspot.co.uk/2013/06/stewed-rhubarb-rhubarb-yoghurt.html
But basically to make the fruit bit all you need to do is choose your fruit/s and chop them up put them in a pan with a bit of water and a hand full of sugar and leave to stew for about 5/10 minutes.

Serves: 2/3 people
Cooking time: 40 minutes
Cooking temp: 180 degrees C
Keeps for: 3 days in the fridge, 3 months in the freezer

Ingredients:

  • 3 table spoons of butter or margarine 
  • 1/4 cup of self raising flour (gluten free use gluten free SR Flour)
  • 1/4 cup of brown sugar
  • 1/2 cup of oats
  • 1/4 teaspoon of nutmeg (if you want)
  • 1/4 teaspoon of cinnamon
conversion from cups to grams or ounces if you need; http://allrecipes.com/howto/cup-to-gram-conversions/ 
 What you need:

  • Bowl
  • 1/2 cup
  • 1/4 cup
  • Table spoon
  • Tea spoon
  • A small dish (much smaller than the one shown in the photo below)


How to make it:

  1. Measure out all ingredients and put into mixing bowl.
    I made a bigger batch as I was making this to take to a friends meal :)
  2. Stir together and then get your hands in it! you need to rub the margarine/butter into the dry ingredients until it is all mixed in.

    Don't worry if you have lumps in it, it's meant to! 
  3. Next place your fruit mix into the bottom of the dish. then start spreading the crumble mix over the top of the fruit until completely covered.
  4. Then put in the oven for 40 minutes or until golden brown and crispy! ENJOY!

    Uni Yums ♥

Saturday, 1 June 2013

Caster Sugar Vs. Granulated Sugar

image from www.forbes.com 

Okay so they are both normal white sugar that are used in cooking, baking and drinks such as tea or coffee.

But what's the difference and what do you us what for?

Caster sugar is also known as superfine sugar. It is just a finer version of granulated sugar, therefore it dissolves faster. Caster sugar is mainly used over granulated sugar in baking because it is easier to dissolve.

Granulated sugar is the normal sugar, and what most people put in their tea or coffee and has slightly larger granules.

Hope this Helps :)
Uni Yums ♥

Gluten Free Flour

Fellow gluten free's!!!! If you are recently gluten free, celiac, have Irritable Bowl Syndrome or one of the many others that mean you cannot eat wheat or gluten.

You may think you are now restricted to none gluten meals, but you are not! There are so many product that can help make a normal meal gluten free and many taste the same or better! (so not :( )

Today I want to talk about gluten free flour. Now there are many flours out there that you can use. There are a number of companies which supply gluten free flour and food, and many super markets now supply a good stock of gluten free.

You can get ready mixed flours made up into the usual self raising flour or plain flour, or you can by separate flours such as, brown or white rice, potato, tapioca, corn, and many more. You can then use these to make up your own flour or just straight into recipes. I have this great book called How to Cook For Food Allergies by Lucinda Bruce-Gardyne. Which includes separate flours into its recipes. http://www.amazon.co.uk/How-Cook-Food-Allergies-ebook/dp/B004ZX9KJ0/ref=sr_1_1?ie=UTF8&qid=1370113576&sr=8-1&keywords=how+to+cook+for+food+allergies

The main flours I use are pre made and from Asda.
image from http://i3-groceries.asda.com/g/010/732/5052449010732_21000_IDShot_2.jpeg

http://groceries.asda.com/asda-estore/catalog/sectionpagecontainer.jsp?skuId=910000399829&departmentid=1214921923813&aisleid=1214921925099&startValue=''
http://groceries.asda.com/asda-estore/catalog/sectionpagecontainer.jsp?skuId=910000399918&departmentid=1214921923813&aisleid=1214921925099&startValue=''
As I said above super markets do a good range of free from foods now, here is Asda's list http://groceries.asda.com/asda-estore/search/searchcontainer.jsp?trailSize=1&searchString=gluten+free&domainName=Products&headerVersion=v1&_requestid=512332

So I hope this has help you if you are gluten free and opened up your options for food!

Uni Yums ♥

Stewed Rhubarb/ Rhubarb Yoghurt!

So I previously posted that I had a lot of rhubarb and had no idea what to do with it!

Here is an easy peasy recipe. It goes well with yoghurt, ice cream, other fruit and meringue. And it's a great way to get some sugar into your diet along with some yummy fruit!

Stewed Rhubarb

Serves: 2/3.
Cooking time: about 5 to 10 minutes.
Keeps for: 3 days in the fridge and can be frozen for 3 months.
Average cost: 65p for 3 sticks of rhubarb. 15p for 50 grams of sugar 80p for total recipe. (1 bag of sugar is £1.48)

Ingredients:
  • 3 sticks of Rhubarb
  • 1 hand full of Caster sugar or plan sugar (honestly doesn't matter)
  • Table spoon of water
What you need:
  • Pan
  • Cooking spoon
  • Table spoon
How to make it:
  1. Turn the hob onto high.
  2. Cut off the ends of the rhubarb stalks.
  3. Chop into pieces about 2 cm long. 
  4. Put 1 table spoon of water into the pan. (DO NOT PUT ANY MORE IN! trust me, I know it seem such as small amount but rhubarb contains a lot of juices.)
  5. Put the rhubarb into the pan and put on the hob.
  6. Add 1 hand full of sugar into the pan and stir into the rhubarb. Lower heat so the rhubarb is simmering. (small bubbles)  
  7. Stay by the oven and keep stirring the rhubarb every so often.
  8. Its now up to you how long you cook this for. There isn't a set time needed for it to be cooked. If you want it to be like a purée then keep cooking it until it looks like one.  If you want chunks in it then you don't need to cook it for as long. 
    chunkier stewed rhubarb 

    how I like it slightly purée slightly chunky
  9. Once cooked, turn the hob off, and put the pan on the side. You will need to taste it and add more sugar if it is too sour still. Just stir in the extra sugar. 
  10. Put into a bowl and add to yoghurt to make your own rhubarb yoghurt, or it's tastey with ice cream :) (If you are vegan obviously you know not to eat with ice cream/yoghurt.)
  11. For storing, wait until cool and then put in a tub, label it, and then place in the fridge and eat within 3 days, or in the freezer and eat with in 3 months. 
Uni Yums ♥

Average cost estimated from www.asda.com other super markets may be cheaper so shop around!

Butternut Squash, Carrot and Parsnip Soup.


As I said on my soup page I LOVE SOUP Its so filling and can be eaten for lunch or tea.

So here is my new try out of soup.

Butternut Squash. Carrot and Parsnip Soup

This soup is, vegetarian, gluten free (just check the stock cubes you are using please) and vegan (don't put the yoghurt on).
Calories per serving: around 200
Serves: 3/4
Cooking time: 25 minutes
Keeps for: 3 days in the fridge, 3 months in the freezer.
Average cost: £2.15 (this price is the exact price, however to buy carrots you will need to buy a whole bag, which will cost more, but can be used for other recipes)

Ingredients:
  • 1 small butternut squash 
  • 4 medium carrots
  • 2 medium parsnips
  • 1 medium onion
  • 2 garlic cloves
  • 1 litre of just boiled water
  • 1 vegetable or chicken stock
  • low-fat natural yoghurt (if you really want it, its just added on top at the end)
the olive oil was not used in this recipe, and the pepper is for seasoning at the end if you wish to.

What you need:
  • chopping board
  • 1 small cutting knife
  • 1 larger cutting knife
  • a peeler
  • a jug with measurements on
  • a spoon
  • a large-ish pan
  • plastic/wooden cooking spoon
  • a zuzzerrr (sorry i dont know its actual name, but its in the photo) or a juicer
  • bowl and spoon to eat it with!!! NOM.
the zuzzer is the white thing at the back, I will find out its name!

How to make it:
  1. Put hob/oven/ring on high.
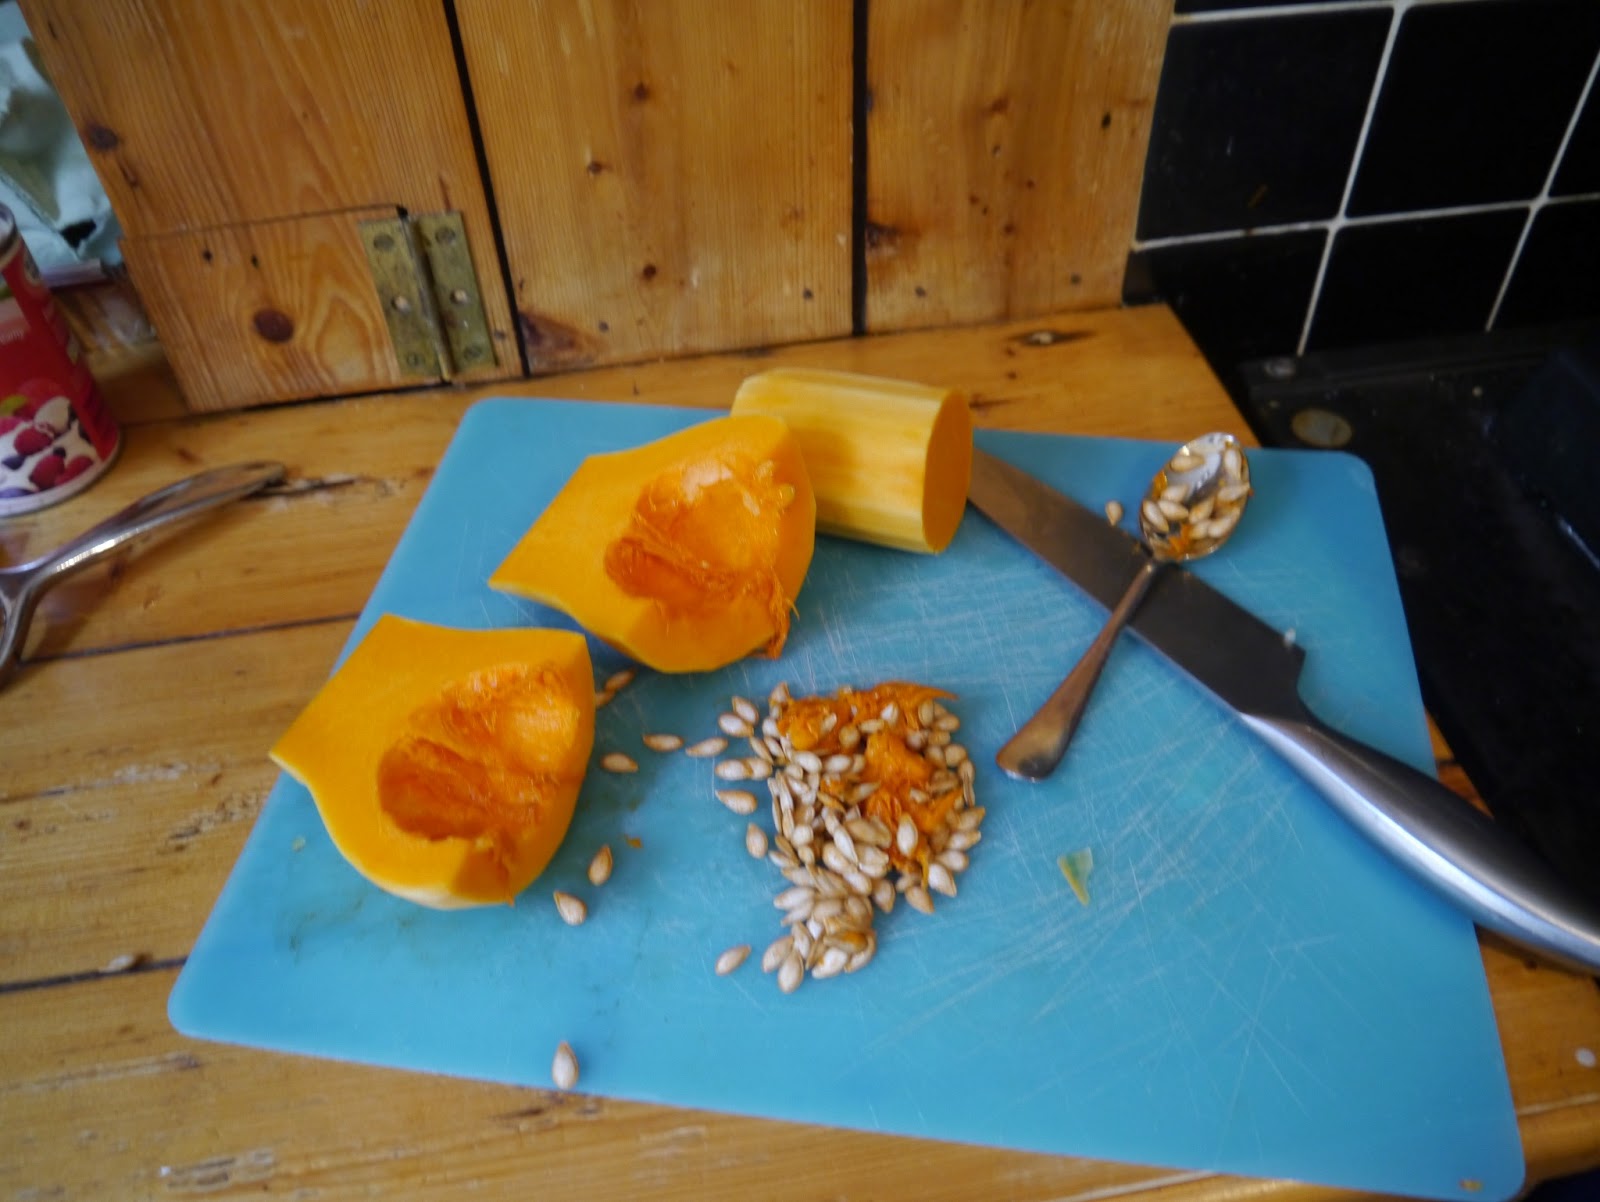
  2. Peel the squash. (THIS IS HARD!) Pleas don'd try and use a knife to do this as the skin is very tough and I nearly cut myself using a peeler. Cut the squash in half and scoop out the seeds and throw them away...(i will see if you can use them for something else, maybe just roast them for a snack! its a waste just throwing them away). Cut squash up into large chunks.
    Cut up butternut squash (if you want the soup to cook faster chop into smaller pieces)
  3. Chop the ends off the carrots and parsnips then peel and chop into pieces.
  4. Put all veg into the pan.
  5. Roughly chop up the garlic and onion. To chop the garlic cloves, first cut off the ends and then peel the purpley skin off and then chop up. With the onion peel the skin and then cut up into small rough pieces. (doesn't matter if its messy its all going to be zuzzed up!) Put in pan.

  6. Boil water in a kettle. Measure out 1 litre of the boiled water and pour over the veg in the pan. Crumble your stock cube in and mix with a wooden spoon.
  7. Put the lid on the pan and leave to boil. BUT keep an eye on it! remove the lid if it starts to boil over. It takes 25-30 minutes to cook, and stir it every so often. (If you want it to cook faster, you can chop up the veg smaller and it will take about 10-15 minutes, but not to small otherwise it will all disappear!)
  8. Once the veg has cooked, take off the heat and don't forget to turn the oven off!
  9. Now use your zuzzer or juicer. (be careful when you pour the hot soup into the juicer not to burn yourself) and then zuzzer/juice until as smooth as you like. (If you have neither of these items I have heard of people using a potato masher to smooth soup. 
  10. If the soup is too thick for your liking then just add some more hot waters and it will thin out. 
  11. Now put in a bowl, add yoghurt if you want and enjoy!!
Any left overs put in a tube and leave to cool. Label the lid, and freeze or put in the fridge to eat within 3 days.

Uni Yums ♥

Recipe adapted from The Hairy Dieters cook book, original name; Golden Vegetable Soup. 
Average cost estimated from www.asda.com other super markets may be cheaper so shop around!

Friday, 31 May 2013

RHUBARRRBBBB!

All this rhubarb just came out of the garden! I am already looking up some recipes for what to do with it all!

Uni Yums ♥

First Post!

So here is my first post as a blogger! It's a bit strange typing at a computer as if I am talking to it, but I am sure I will get used to it!

I decided to create this blog, to help myself out for going to uni. Food. Something i will have to make for myself to be able to survive. Although I do help out making meals, I haven't cooked much by myself, and I have a limited range of recipes. So this blog will become my recipe book, for myself and those who want some help out with idea for home cooked uni meals :)

I hope to get cooking soon, and I will be posting the recipes, photos of the food, my tips and where I bought everything from. :)

So I hope this blog will be as useful to you as it hopefully will be to me. :)
Uni Yums ♥